Creating a Digital Ocean Droplet
The first thing that we need to do is commission a server on Digital Ocean to host our application.
Strictly speaking, what we’re going to commission is actually a virtual machine known in Digital Ocean terminology as a droplet.
If you’d like to follow along with this stage of the book, you’ll need to register for a Digital Ocean account if you don’t already have one. As part of the registration process, you’ll be prompted confirm your email address and then add a minimum of $5 USD pre-paid credit to your account using either a credit/debit card or PayPal.
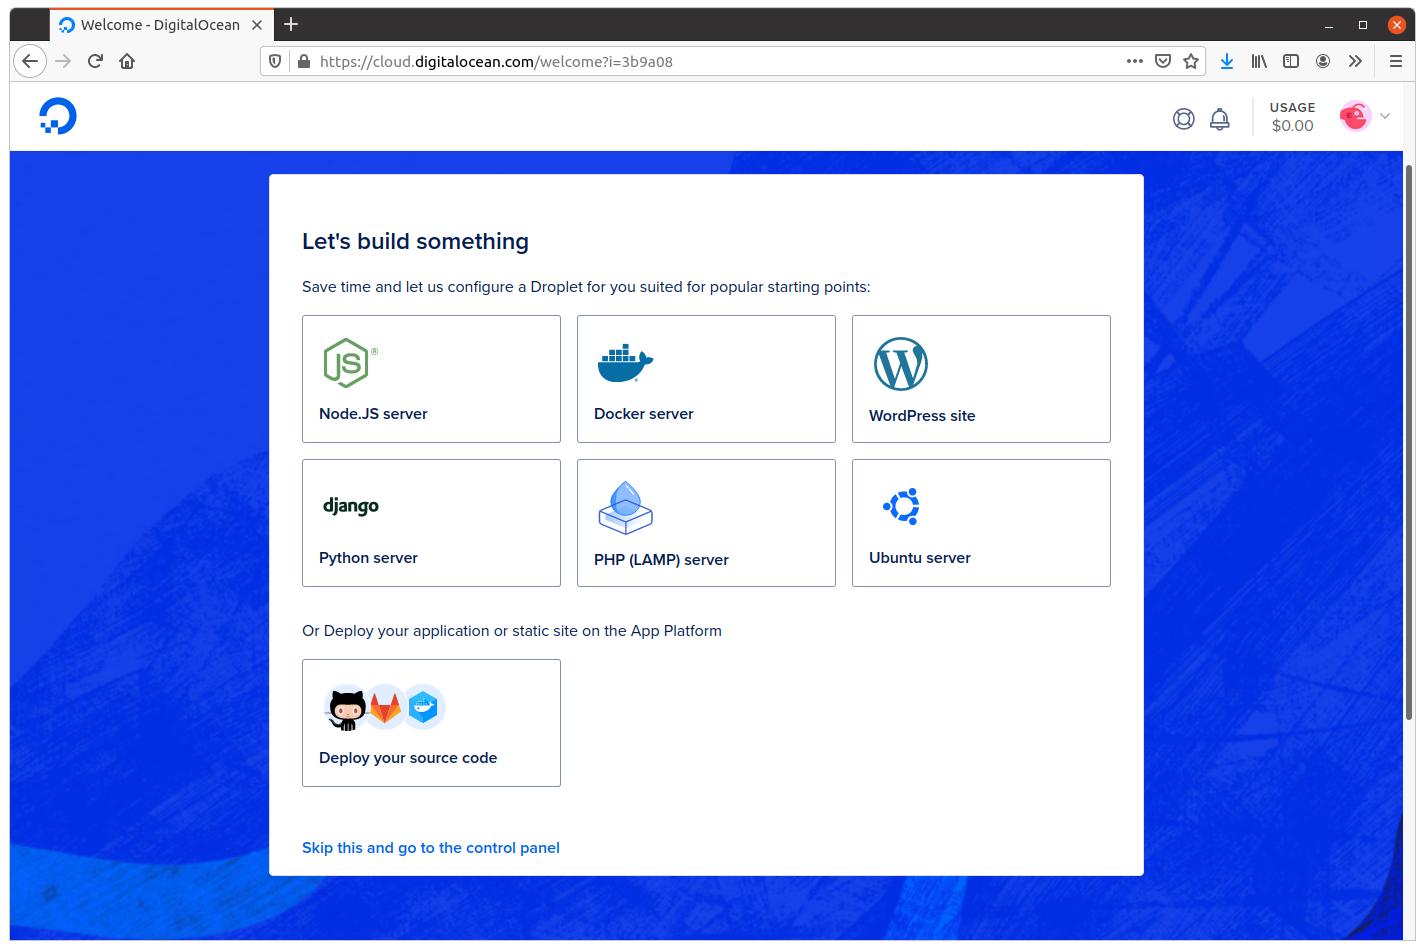
Once you’ve completed the registration and added the credit, you should find yourself presented with an introductory screen similar to this:
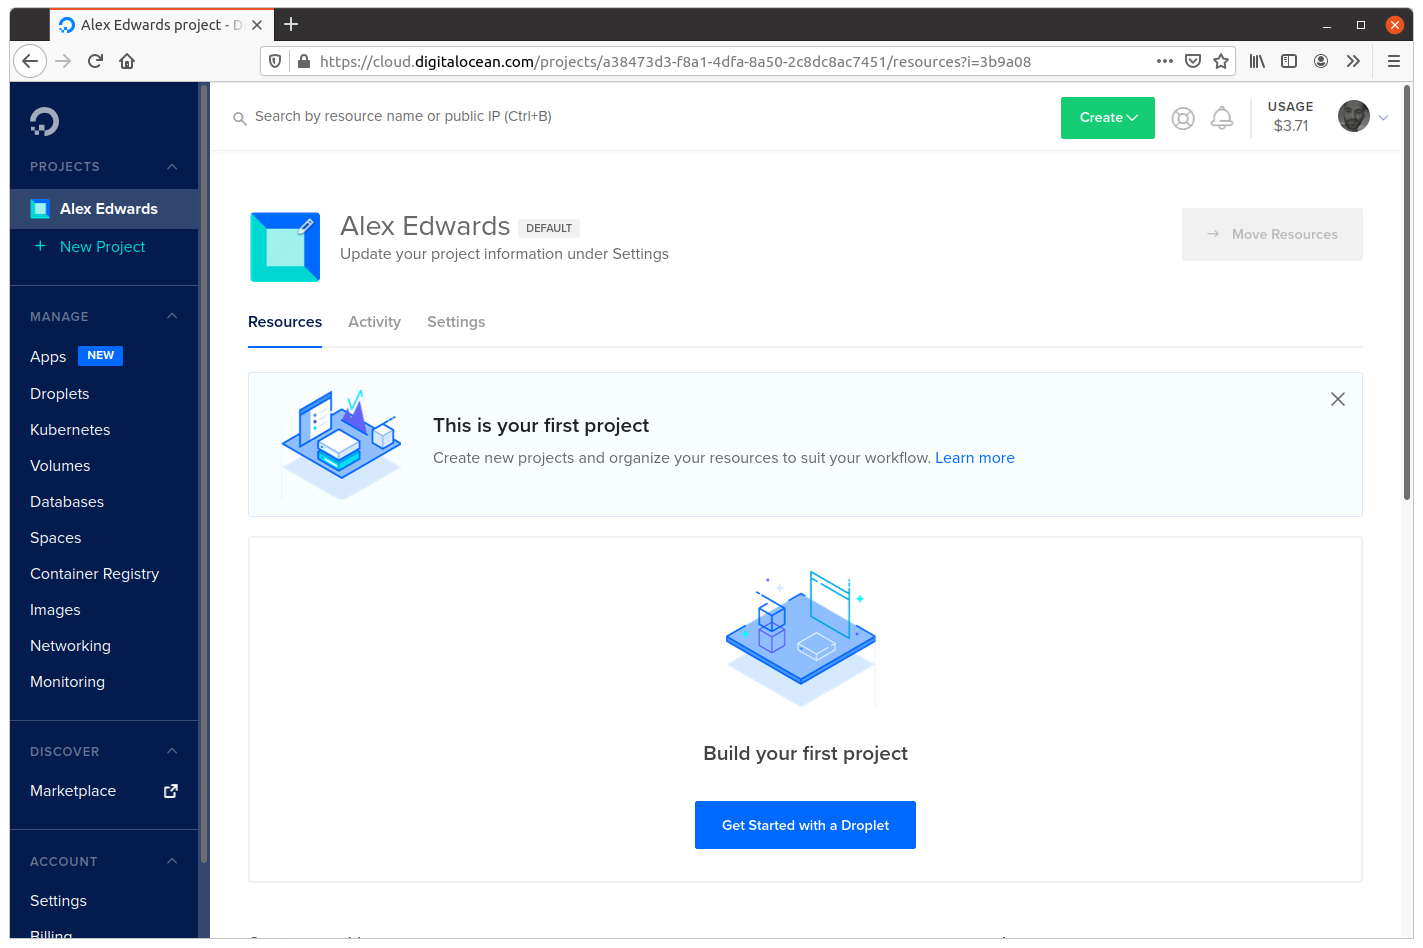
Click the “Skip this” link at the bottom of the screen to go straight to your account control panel, which should look like this:
Creating a SSH key
In order to log in to droplets in your Digital Ocean account you’ll need a SSH keypair.
If you already have a SSH keypair that you’re happy to use for this purpose, then that’s great, and you can skip ahead to the next section.
But if you don’t, you’ll need to create a keypair using the ssh-keygen command on your local machine. Similar to this:
$ ssh-keygen -t rsa -b 4096 -C "greenlight@greenlight.alexedwards.net" -f $HOME/.ssh/id_rsa_greenlight
Generating public/private rsa key pair.
Enter passphrase (empty for no passphrase):
Enter same passphrase again:
Your identification has been saved in /home/alex/.ssh/id_rsa_greenlight
Your public key has been saved in /home/alex/.ssh/id_rsa_greenlight.pub
The key fingerprint is:
SHA256:/ii7Wo90BdsoaMU1UAajmd/5vBSeVmBRtf7QtoWw8YM greenlight@greenlight.alexedwards.net
The key's randomart image is:
+---[RSA 4096]----+
|      ++= .....  |
|     = + . .   . |
|    + o . o o .  |
|     + . B . B o |
|    o o S + E * +|
|   .   o = +   =o|
|      o o B    ..|
|     o.+ = .     |
|    ..++o o      |
+----[SHA256]-----+
This will generate two new files in your $HOME/.ssh folder:
- The
$HOME/.ssh/id_rsa_greenlightfile contains your private key. Make sure to keep this secure, because anyone who has access to it will be able to impersonate you. - The
$HOME/.ssh/id_rsa_greenlight.pubfile contains your public key. We’ll upload a copy of this public key to Digital Ocean.
If you open your public key file in a text editor you should see that the content looks similar to this (line breaks added for readability):
ssh-rsa AAAAB3NzaC1yc2EAAAADAQABAAACAQDDdAjxtGVTW4R11nDvFI7PgE712+xIxM7v6slsLMmJ0IzpkN+f
HFdN4Nx/QSGnFbRifT2uNr7INV3wPLzYR65cjhkN9FjIAndcpmp2hsr+gE+QLwpLxfEK4X5s+UT7VrYBaB2q7Npu
8k6TsvgSG+kX09vtm/ww4rQiSMbZ4dx64EBag97QhuYeSODOGVTNog5z+HdmwhN6R12WnOkQJGmNNJ9ZzwKBr1v5
wyL6iOpumfrIV9YduI2bE8jQ69epGXmXQcVSpGtEpwvp7UqoxnSW7ycgiL2WjZfrYD/gOngWexZud+ZfXRXidWox
Lut8FOTaKMS254wFPa9RzyTSv42PRcrkM9pY4MQGBpBZVMZ+oiCp3XYFwUd8yTv6oL8l50euDdfI78PsW+sLbN4m
dfktWpdeqovAks2yIkI4os8Hi2S/2DQK/LqgcJA8aUJwcSezsdVe8yULaicOZYx7Lje0HJyHX0WzqtNVs2S14RyG
JkYeTIcMisYHbJaNGais06hgEv4Jj1xsWdynp/XWa1aXkQzBUwcQWAjjChcOyTlIi/qMEqrQbwHyp7gOVq5MM382
kgoP5UwhX3n3NjWXpQLjLP6ItIMA1VtpcRZBMDiJddvgSaxhHIVsW31enmUlKJ5KUFdV25wxS4ySf4iouupLzxLf
64JEH1GQZdPK/gwU6Q== greenlight@greenlight.alexedwards.net
And if you run the ssh-add -l command, you should see your new SSH key listed in the output, similar to this:
$ ssh-add -l
4096 SHA256:/ii7Wo90BdsoaMU1UAajmd/5vBSeVmBRtf7QtoWw8YM greenlight@greenlight.alexedwards.net (RSA)
If you don’t see your key listed, then please add it to your SSH agent like so:
$ ssh-add $HOME/.ssh/id_rsa_greenlight
Enter passphrase for /home/alex/.ssh/id_rsa_greenlight:
Identity added: /home/alex/.ssh/id_rsa_greenlight (greenlight@greenlight.alexedwards.net)
Adding the SSH key to Digital Ocean
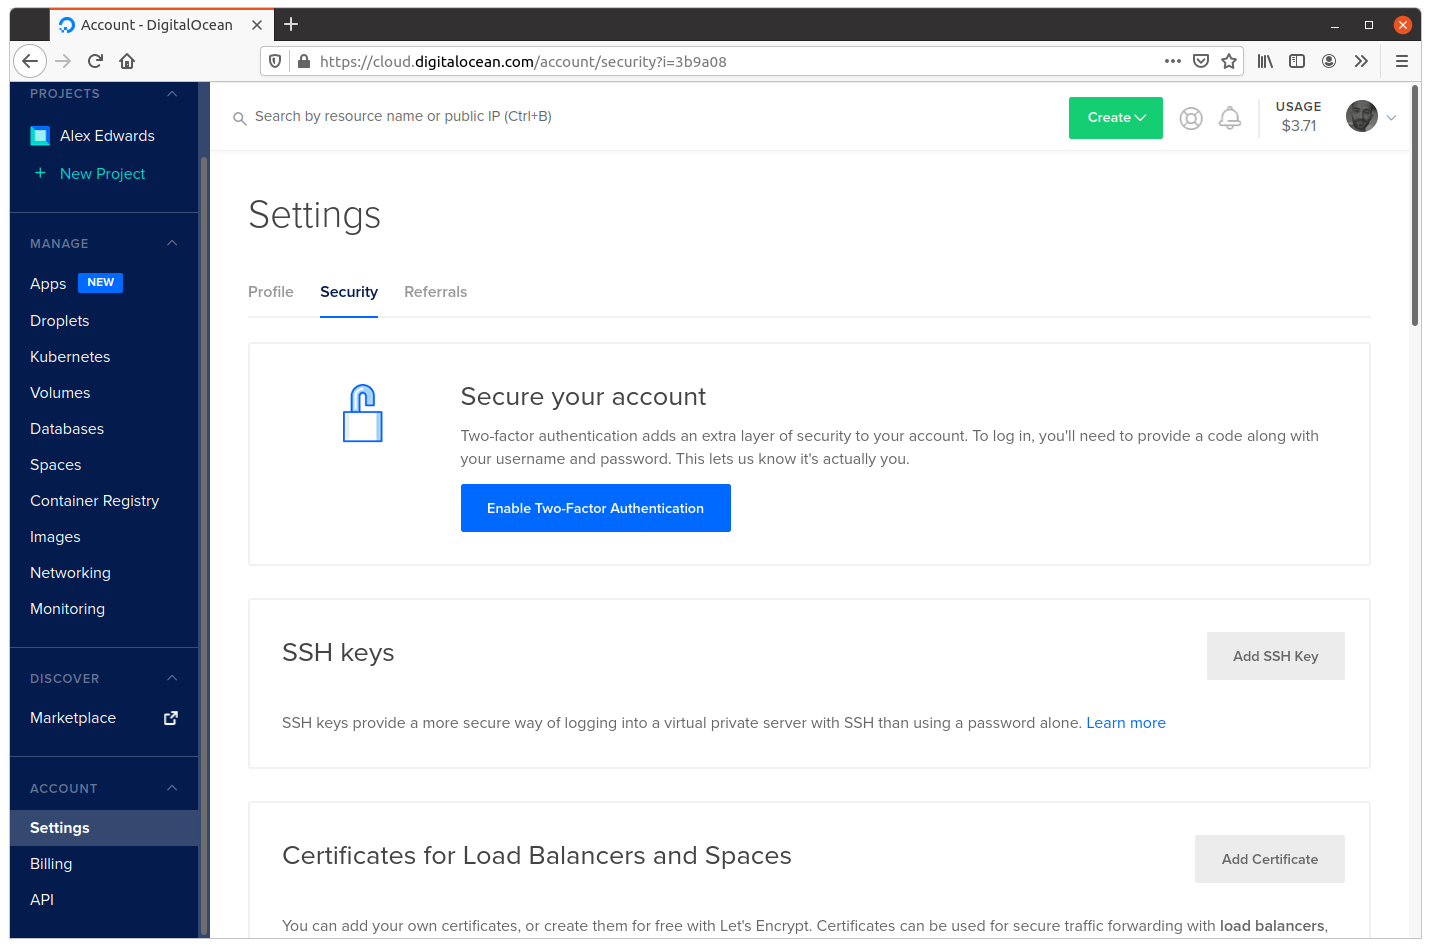
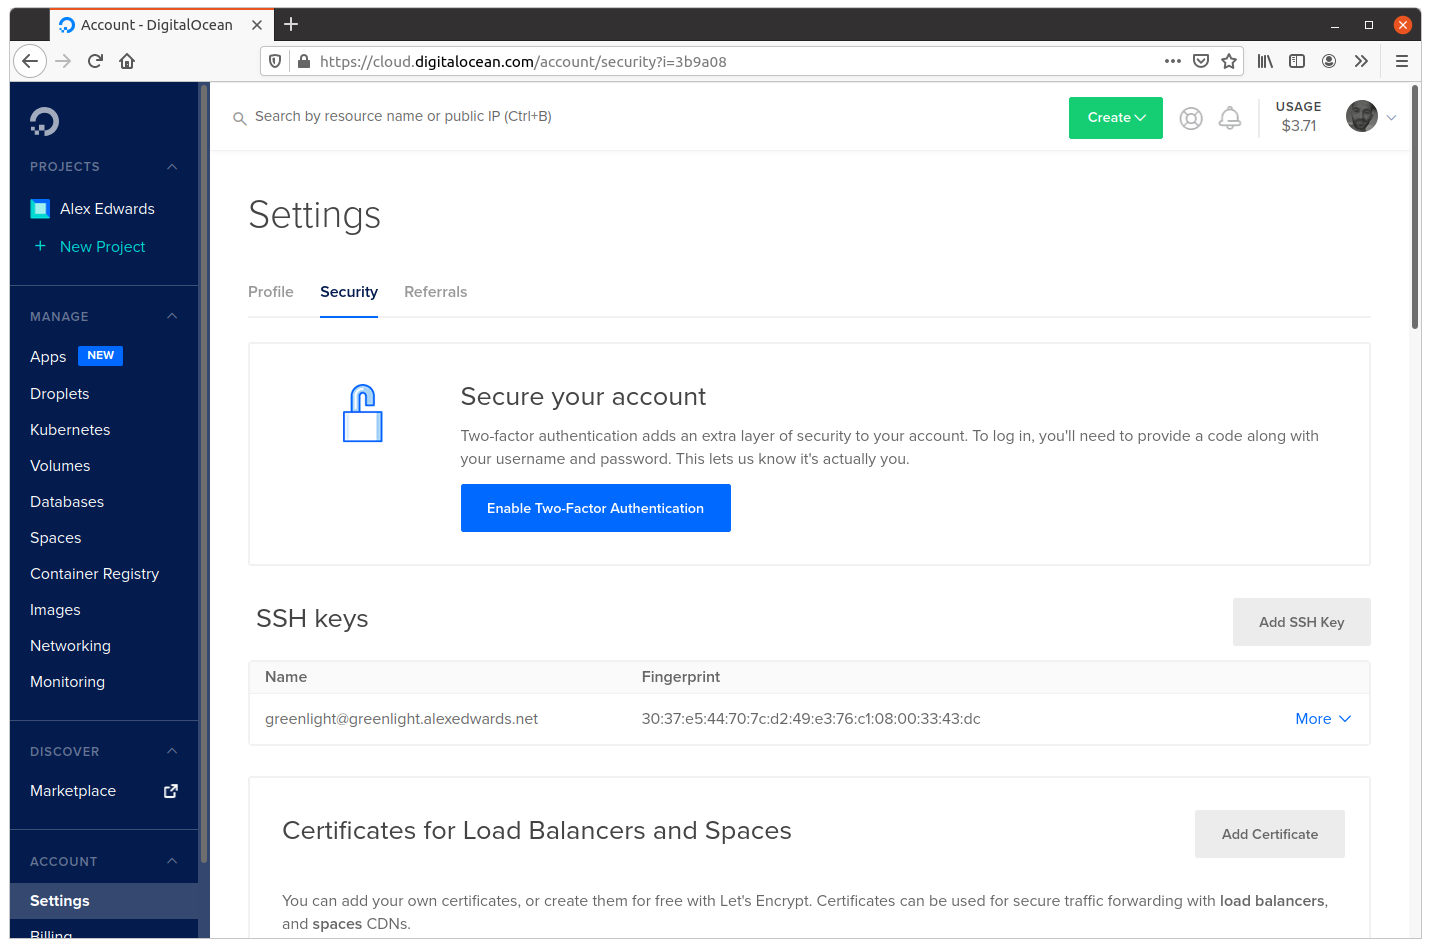
Now you’ve got a SSH keypair you can use, head back to your Digital Ocean control panel and navigate to the Account › Settings › Security screen.
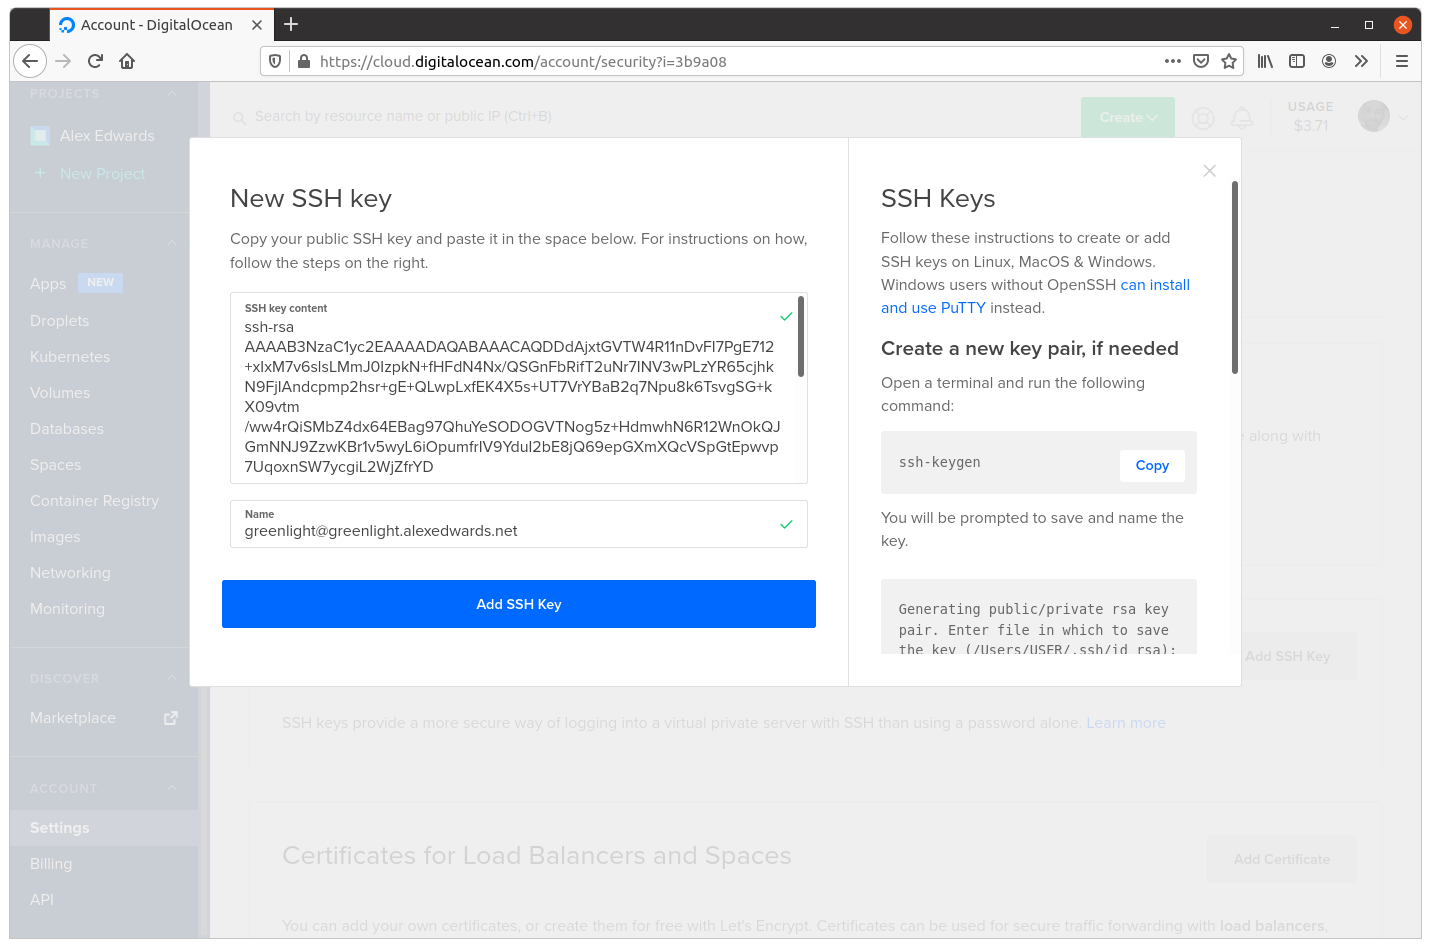
Click the Add SSH Key button, then in the popup window that appears paste in the text contents from your $HOME/.ssh/id_rsa_greenlight.pub public key file, give it a memorable name, and submit the form, similar to the screenshot below.
The screen should then update to confirm that your SSH key has been successfully added, like so:
Creating a droplet
Now that you have a valid SSH key added to your account, it’s time to actually create a droplet.
There are a couple of ways that you can do this. It’s possible to do so programmatically via the Digital Ocean API or using the official command-line tool, and if you need to create or manage a lot of servers then I recommend using these.
Or alternatively, it’s possible to create a droplet manually via your control panel on the Digital Ocean website. This is the approach we’ll take in this book, partly because it’s simple enough to do as a one-off, and partly because it helps give overview of the available droplet settings if you haven’t used Digital Ocean before.
Go ahead and click the green Create button in the top right corner and select Droplets from the dropdown menu:

This will then take you to the options page for creating a new droplet. The first thing to choose is the operating system for your droplet. If you’re following along, please select Ubuntu 20.04 (LTS) x64.
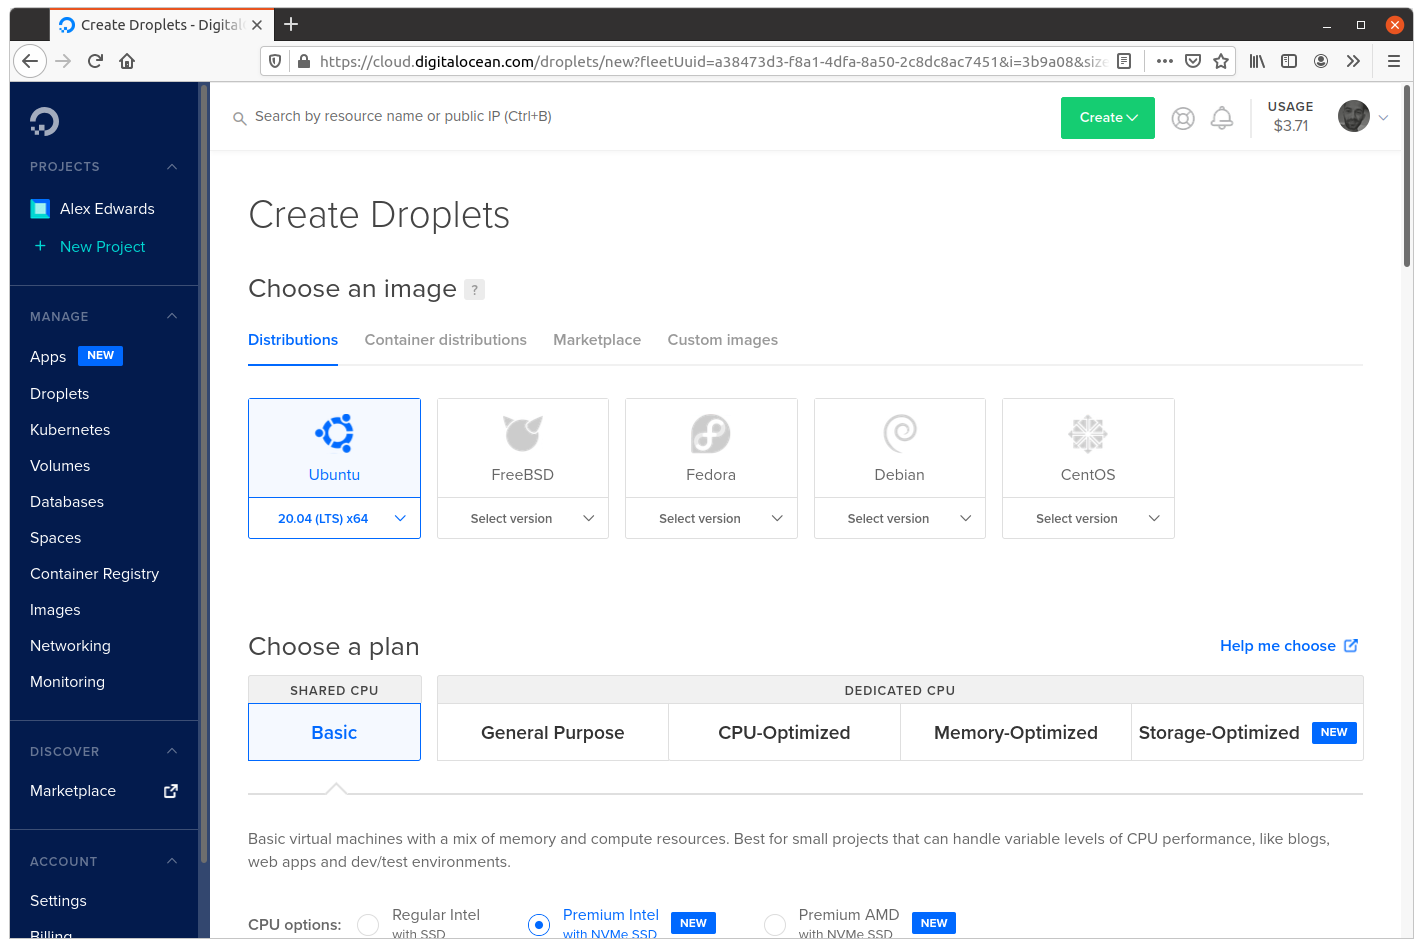
The next step is to choose a plan which matches the technical specifications you need for the droplet. In this case we’ll select the Basic Regular Intel with SSD plan at $5/month, which will give us a virtual machine with 1GB RAM, 25GB of disk space and 1000GB of outbound data transfer each month (inbound data transfer is unrestricted).

The next option allows us to add block storage to the droplet. This is essentially a droplet-independent storage volume which acts like a local hard disk and can be moved between different droplets. It’s not something we need right now, so you can skip this section.
After that we need to select the data center where out droplet will be physically hosted. I’m going to choose New York 3 but feel free to pick an alternative location if you like.

After that we can select some free “add-on” features for our droplet. In our case we’ll select Monitoring, which will allow you to later see graphs of various droplet statistics (like CPU, memory and disk use) in your Digital Ocean control panel — and you can also set up alerts if resource usage exceeds a certain threshold.
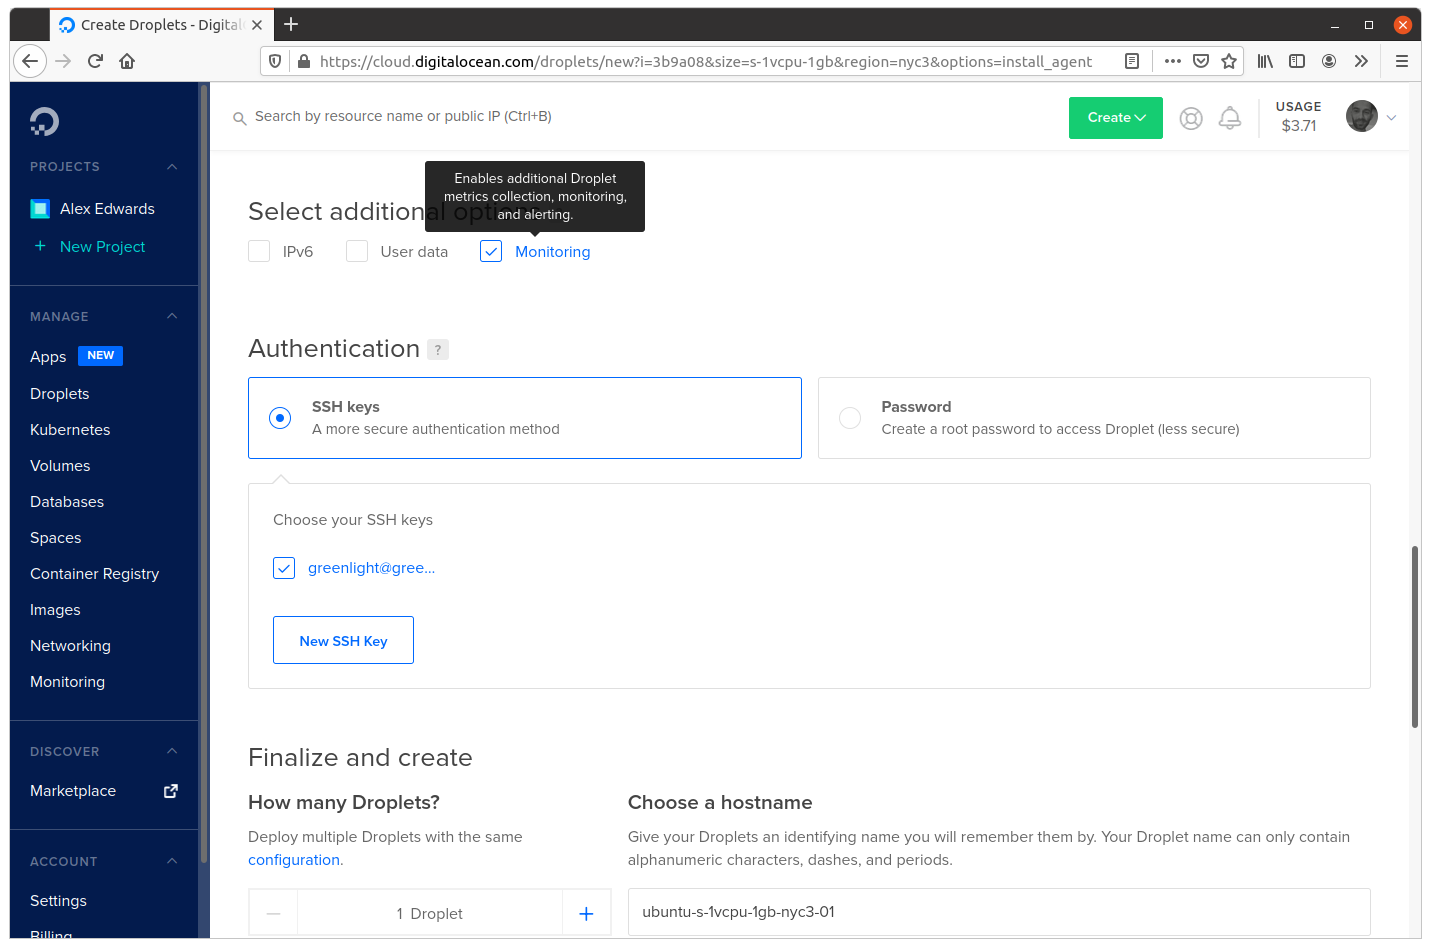
Under the Authentication section, make sure that SSH keys is selected as the authentication method and that the SSH key that you just uploaded is checked.
Then we get to the final configuration options.
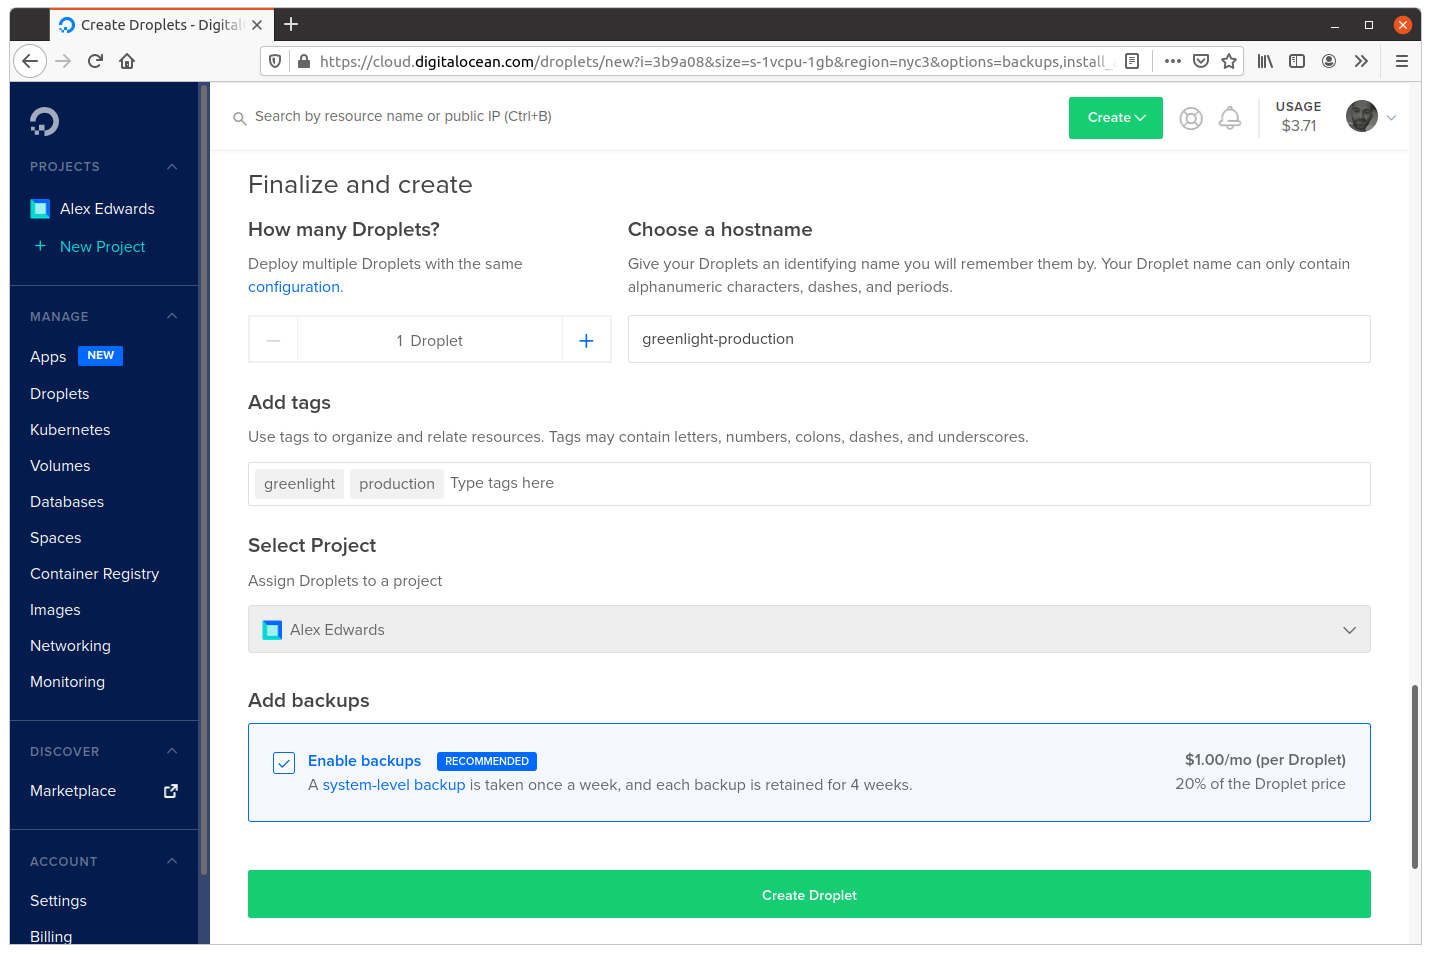
We only need one droplet right now, so you can leave that as the default.
You should also add a hostname for the droplet. Amongst other things, the hostname is used as the main identifier for the droplet in the Digital Ocean control panel, and it’s also what you’ll see when you SSH into the droplet later to administer it. So you should pick a name that is sensible and easy-to-recognize. I’m going to use the hostname greenlight-production, but feel free to use something different if you like.
Adding tags to your droplet is completely optional, but if you do a lot of work with Digital Ocean they can be a useful way to help filter and manage droplets. I’ll use the tags greenlight and production here.
Then lastly you can choose to pay an additional 20% charge to enable automated droplet backups. If you select this option, then Digital Ocean will take a ‘snapshot’ of your droplet once a week and store it for a period of 4 weeks. You can then restore a droplet to its snapshotted state via the control panel if you ever need to. It’s entirely up to you whether to enable backups or not — but it’s a simple and hassle-free safety net.
Once that’s all set, go ahead and click the Create Droplet button at the foot of the screen. You should see a progress bar while the droplet is being set up for you, and after a minute or two the droplet should be live and ready to use.

The most important thing at this point is noting the IP address for the droplet, which in my case is 45.55.49.87.
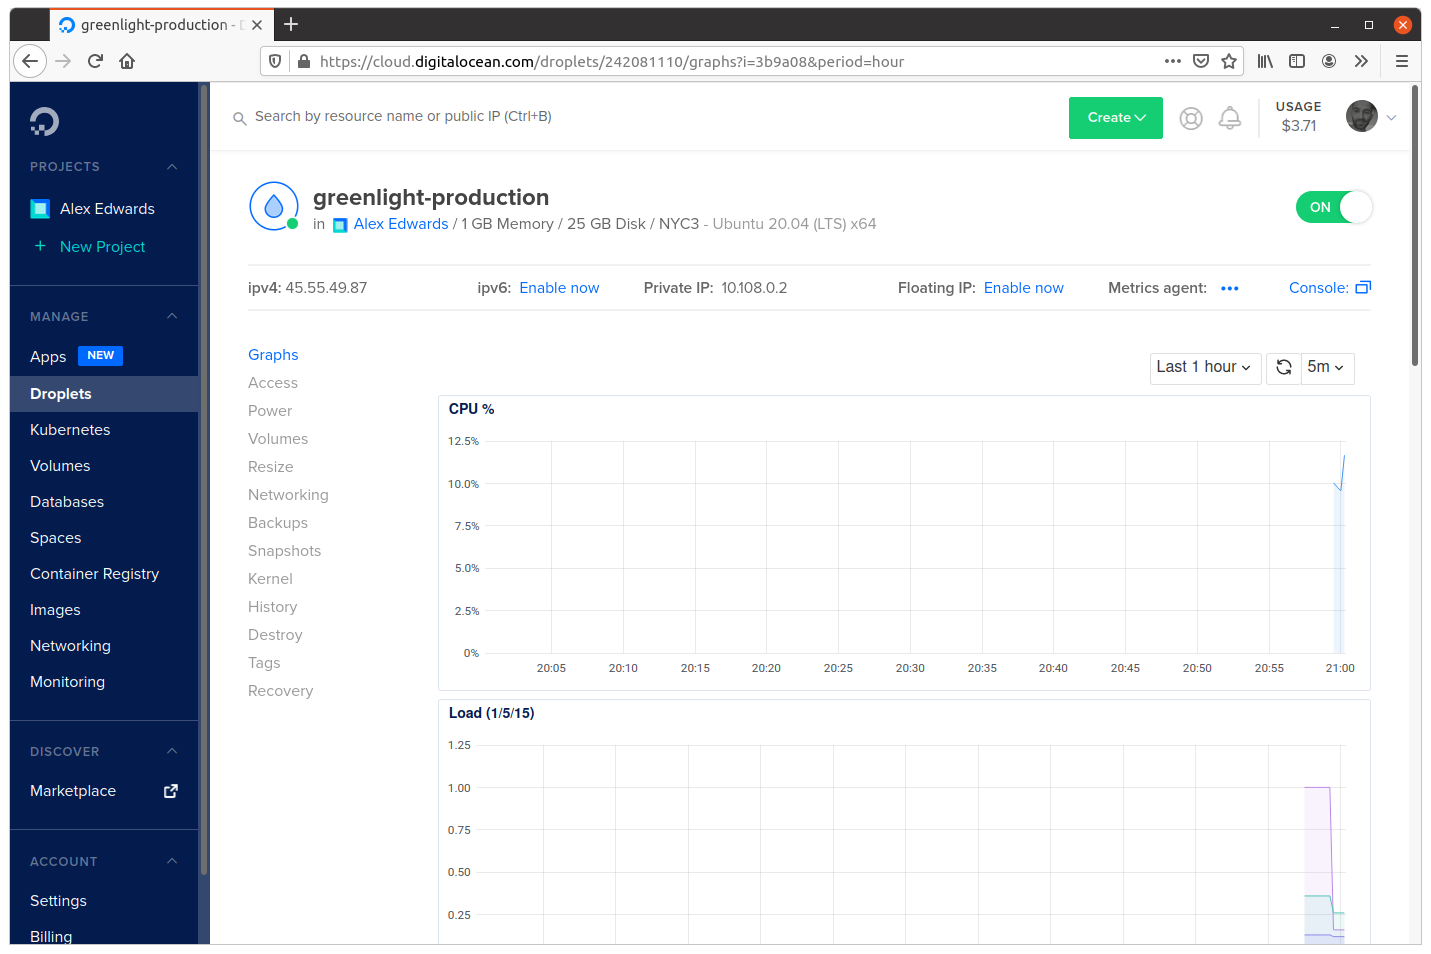
If you like, you can also click on the droplet hostname to see more detailed information about the droplet (including the monitoring statistics) and make any further configuration and management changes if you need to.
OK, now that the droplet is set up, it’s time for the moment of truth!
Open a new terminal window and try connecting to the droplet via SSH as the root user, using the droplet IP address. Like so…
$ ssh root@45.55.49.87
The authenticity of host '45.55.49.87 (45.55.49.87)' can't be established.
ECDSA key fingerprint is SHA256:HWGdr4i2xF0yoU3GlRcVOYV/pqJ45pwLXhKWAjq4ahw.
Are you sure you want to continue connecting (yes/no/[fingerprint])? yes
Warning: Permanently added '45.55.49.87' (ECDSA) to the list of known hosts.
Welcome to Ubuntu 20.04.1 LTS (GNU/Linux 5.4.0-51-generic x86_64)

 * Documentation:  https://help.ubuntu.com
 * Management:     https://landscape.canonical.com
 * Support:        https://ubuntu.com/advantage

  System information as of Sun Apr 18 19:02:59 UTC 2021

  System load:  0.0               Users logged in:       0
  Usage of /:   5.9% of 24.06GB   IPv4 address for eth0: 45.55.49.87
  Memory usage: 21%               IPv4 address for eth0: 10.17.0.5
  Swap usage:   0%                IPv4 address for eth1: 10.108.0.2
  Processes:    103

126 updates can be installed immediately.
60 of these updates are security updates.
To see these additional updates run: apt list --upgradable


The programs included with the Ubuntu system are free software;
the exact distribution terms for each program are described in the
individual files in /usr/share/doc/*/copyright.

Ubuntu comes with ABSOLUTELY NO WARRANTY, to the extent permitted by
applicable law.

root@greenlight-production:~#
Great, that looks like it’s working well. Our Ubuntu Linux droplet is up and running, and we’ve been able to successfully connect to it as the root user over SSH.
You can go ahead and type exit to terminate the SSH connection and return to the terminal on your local machine, like so:
root@greenlight-production:~# exit
logout
Connection to 45.55.49.87 closed.